부산광역시 에서 유일하게 남아 있는 전통룸 방식으로 오랜 성업을 이어온 부산룸싸롱 업소인 만큼 하루 서울텐프로급 여성들이 최대 200~300명 출근하는 고퀄리티 최대규모 룸 입니다 해운대룸싸롱 에서는 연예인 및 유명인사들도 자주 찾는 부산에서는 최고라 자부할수 있는 곳으로 서비스 및 아가씨 싸이즈는 서울 강남에 내놔도 손색이 없을만큼 최고입니다.
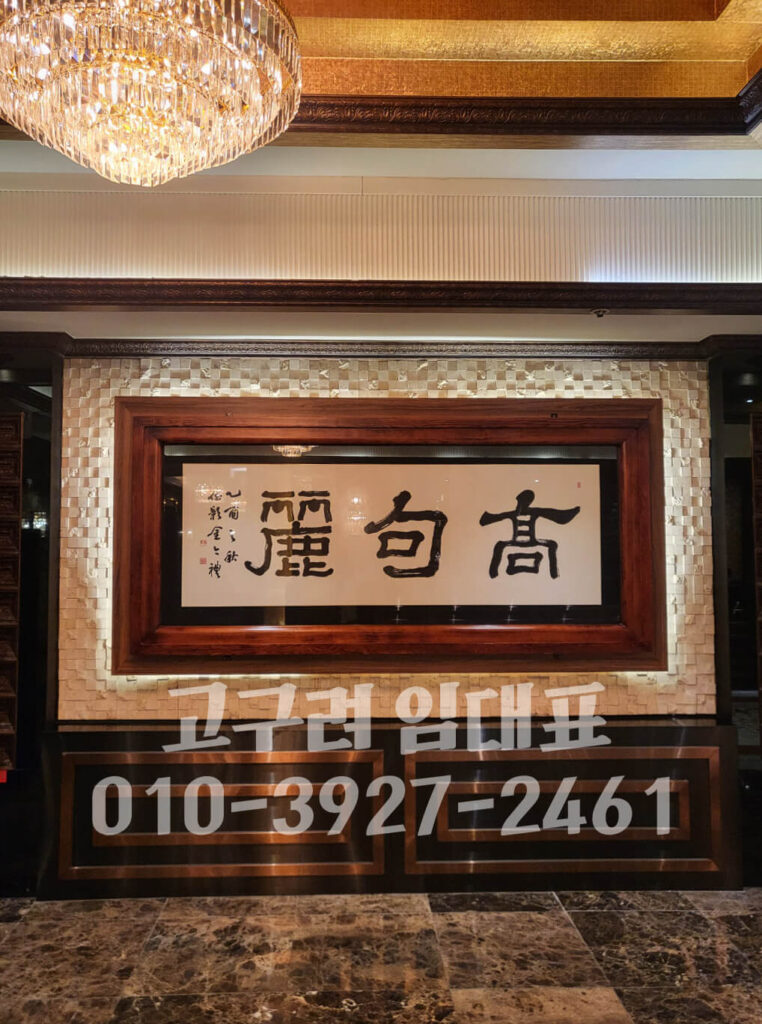
18년째 부산해운대 에서 성업중인 최장수 유흥업소입니다 오랜성업의 이유는 분명히 있을거라 생각합니다 방문전 꼼꼼히 따져보시고 저희 부산고구려를 선택하시길 바랍니다
3년이상 영업하지못하고 폐업하는 불경기에 부산지역에서 살아남은 유일한 업소
다양한 이벤트
이벤트 및 축하자리를 빛낼 수 있도록 다양한 서비스 및 이벤트 항시 구비 19:00이전 입장고객님께 할인금액 항상 적용
생일,모임,기념일,고구려룸 재방문고객님 항상 나은보다 나은이벤트로 부응하겠습니다
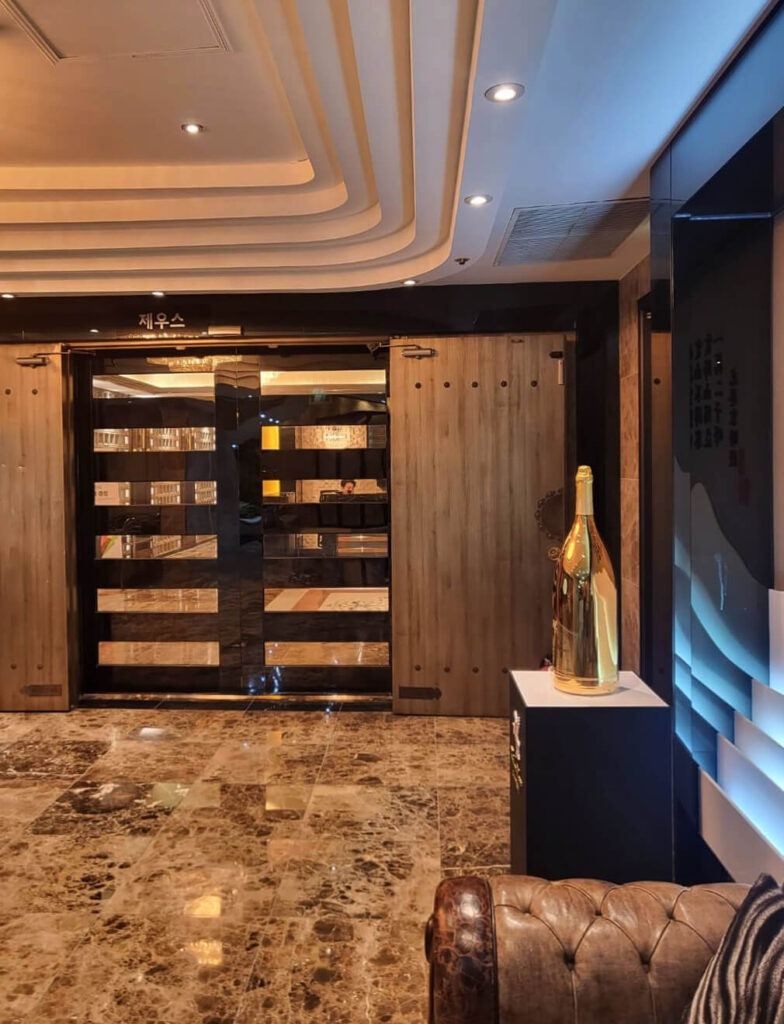
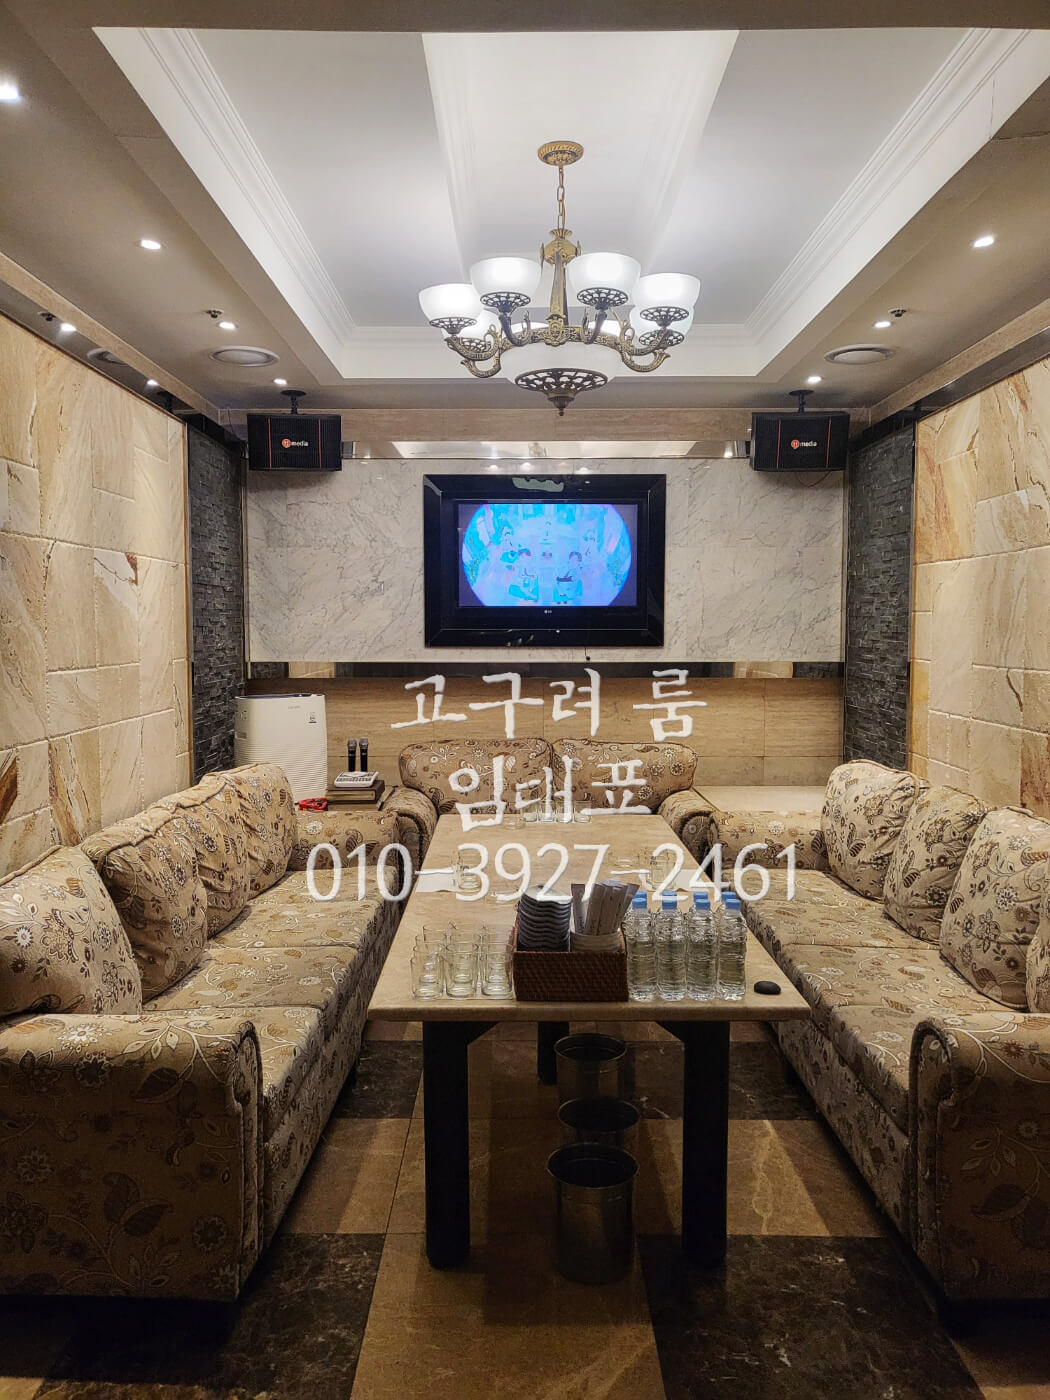
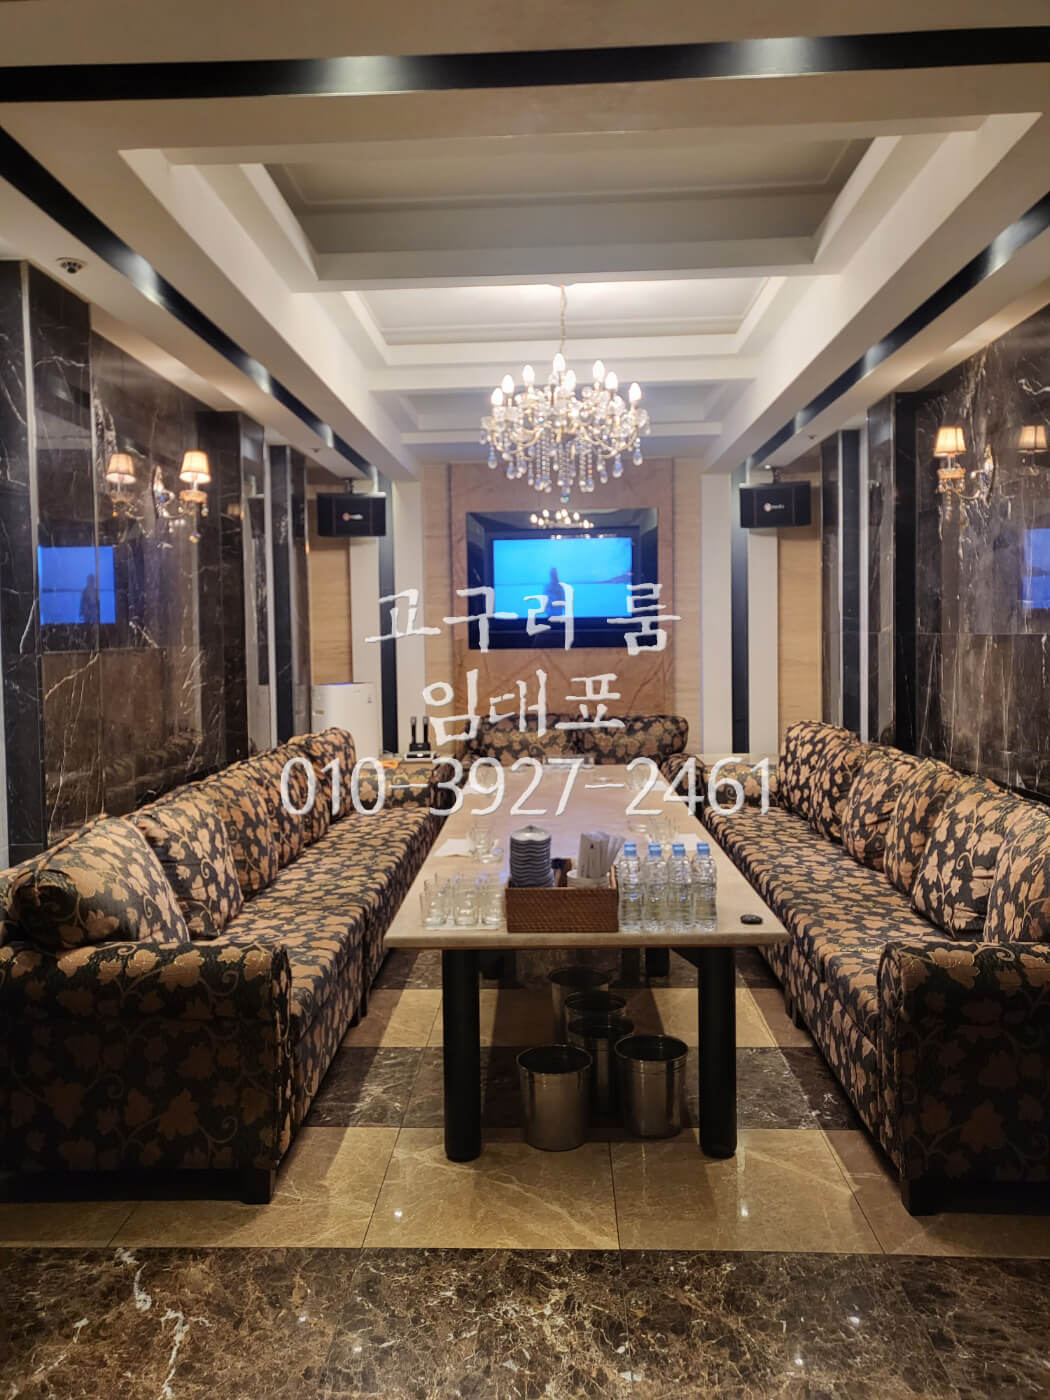
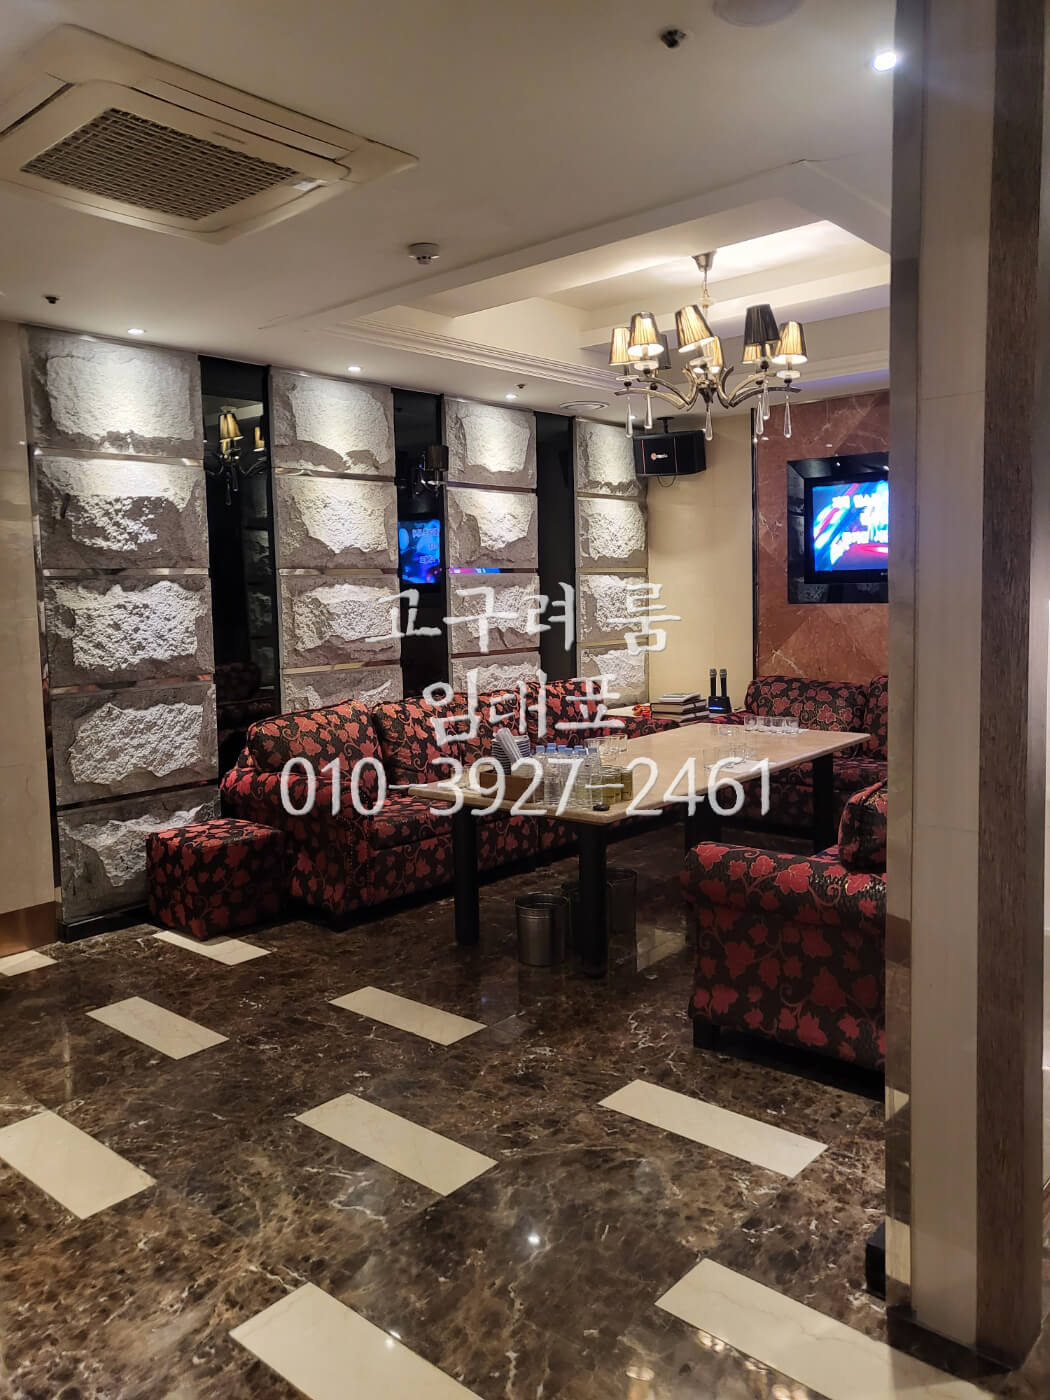
최고시설완비
부산룸싸롱을 통틀어 룸이 가장많은 업소로써 주기적인 인테리어및 위생관리에도 철저하게 항시 관리하고있습니다 고객님들의 술자리를 빛내드릴 수 있도록 밴드 및 다양한 쇼맨쉽 시설 완비
서울강남에 내놔도 손색없는 최고시설및 장비
부산전지역 픽업
부산 전지역 어디든 고객님들이 편하게 방문하실 수 있도록 고급 차량을 통한 픽업 서비스 제공합니다. 예약 후 출발 30분전에 말씀해주시면 차량을 고객님들께 보내드리도록하겠습니다.
인원수및 정확한 주소를 미리 보내주시면 더욱 편하게 방문하실수있습니다.
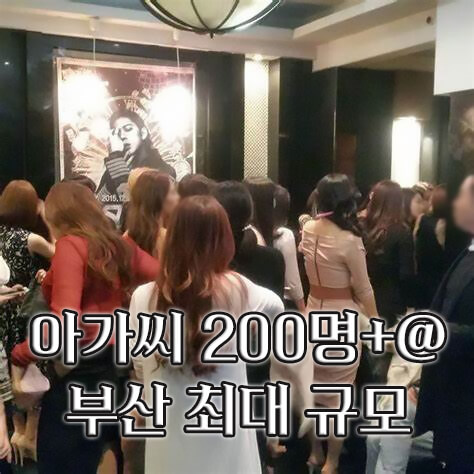
아가씨 200명출근
저희 부산해운대고구려룸은 아가씨 평균출근 200명 이상이며 언제든지 방문하셔도 마음에 드는 아가씨를 착석시킬수있는 최적의 시스템을 구비하고 있으며 싸이즈 또한 부산최고룸이라 자부할수있습니다,
부산에 내놓으라하는 쭉쭉빵빵 늘씬한 미모의 여성들의 성지!
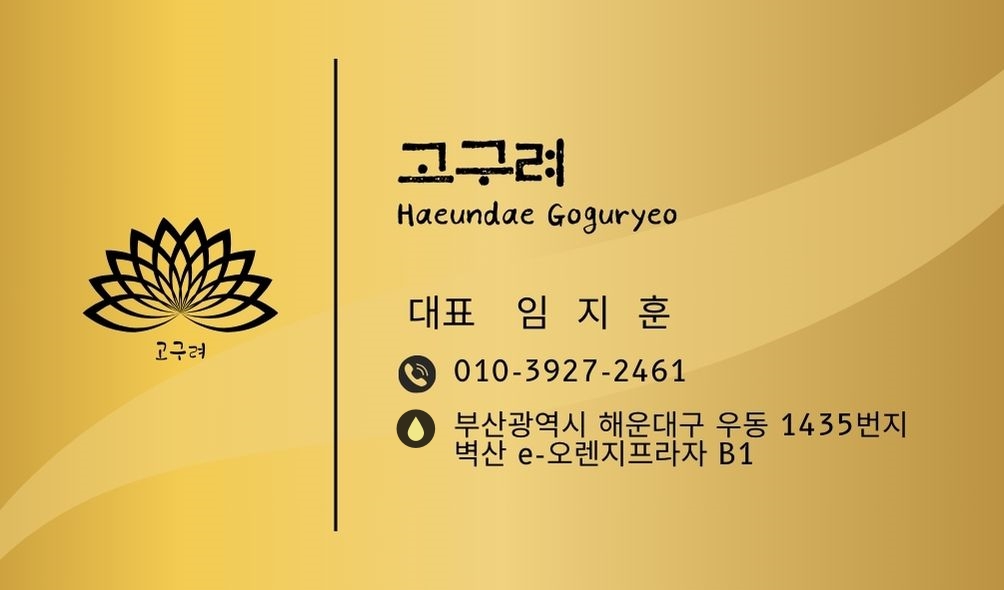
연락처 저장x
고객님들 방문후 전화번호나 명함 을따서 밤낮 가리지 않고 전화나 문자 등으로 불편하게 하는 영업진들이 흔하게 있습니다. 저 임대표는 고객님의 연락을 항상 기다리며 일상시간에 연락하는일 절대 없도록 하겠습니다.
프라이버시를 지켜 드리겠습니다.
부산최고 수질 1등 해운대룸싸롱
해운대룸싸롱 1등은 왜 고구려인가? 부산 룸싸롱을 이야기하면 바로 떠오르는 이름은 고구려입니다. 수년을 꾸준히 영업해왔고 그 중 명불허전 원탑 하이퀄리티 룸싸롱이라고 자신있게 말씀드릴 수 있습니다. 시설은 물론이며 55개의 룸과 부산 최고의 미모 접대부 100명 이상 출근률을 자랑하며 부산에서 고구려 이상의 룸은 없다고 생각합니다. 일반적인 술집이나 노래방 아가씨들과는 수준이 다르며 고구려룸은 쩜오 이상의 아가씨들이 즐비해있으며 마음에 드실 때까지 초이스를 도와드립니다. 한번도 안오신 손님은 계셔도 한번만 오신 손님은 없을 정도로부산에서는 이미 자리잡혀 있는 만족도 100프로 룸싸롱입니다.
The reason why Haeundae Goguryeo is loved
부산고구려가 사랑받는이유
Price equality
모든고객에게 가격은 동일하게
부산해운대룸싸롱에 방문하시는 분들께 부산사람이 아니라고 해서 가격을 더 받거나 바가지 요금을 절대로 부과하지 않습니다. 몇몇 영업진들이 눈에 띄게 그런 행동을 하는 사람이 간혹 있습니다. 저 임대표는 부산시민이나 해운대에 방문하시는 여행객 출장객 모든 고객님들에게 차별하지 않고 동일한 금액과 최고의 서비스를 약속드립니다.
해운대고구려룸에서는 고객님들이 마음에 드시는 여성을 원하실 때까지 무제한 초이스를 진행합니다. 억지로 이빨까서 밀방하는 그런 업소가 아닙니다. 고객님들의 다양한 이성상을 참고하여 서비스 접대 아가씨들 또한 다양하게 분포하여 있기에 고객님들이 만족할수 밖에 없는 준비를 하고 있습니다.
90분 테이블 방식을 하고있으며 추가는 60분마다 테이블 시간을 연장할수 있습니다. 입장 후 초이스후 마음에 드는 여성을 고르신 후에 주류세팅 후 테이블시간이 시작되는 방식입니다. 룸이용간 불편사항이나 요구사항이 있으시면 웨이터 및 마담 영업진들이 항상 대기하고 있습니다. 어느곳보다 편리하고 편하게 자리를 하실수 있습니다.
모든 유흥업소나 서비스직은 손님이 항상 우선이고 왕입니다 서비스를 할때 기본이 중요한데 그 기본이 안되어있는 경우가 너무 흔하게 보입니다 서울에있는 강남 텐프로나,쩜오,퍼블릭등 비싼술을 먹는이유가있는법입니다 저희 부산해운대 고구려룸은 서울에 강남이라 불리는 마린시티에위치하여 퀄리티 고객응대 모두 최고의 서비스를 제공합니다
다시찾는 서비스
A service you can find again
최고의 서비스라하면 고객님이 다시찾아올수있는 서비스를하는것이라 생각합니다 저희 고구려룸은 한번방문하게되시면 무조건 다시 재방문을 할수밖에 없는 서비스를 제공하고있으며 단골이 계속 쌓여가고있는 최고급 고퀄리티 부산룸싸롱입니다
내상없는서비스
Service without damage
저희 부산해운대룸싸롱에선 일주일에 한번씩 직업 서비스 회의를 통한 접대부여성및 영업진들이 고객님들께 보다 나은 서비스및 응대를 할수있게 교육및 회의를 수시로 실시하고있습니다
맥주무제한
Unlimited beer
이벤트기간동안 양주를 주문하시는 고객님들의 한해 홈페이지를 보고방문하신분들께 맥주를 무제한 서비스 제공해드리겠습니다 위 이벤트는 기간이종료되면 서비스해드릴수없으니 방문전 꼭 확인부탁드립니다
안주무제한
Unlimited snacks
양주주문 고객님들의 한해 양주 한명당 안주를 무료료 서비스해드리겠습니다 마른안주및 과일안주가 기본으로 세팅되며 추가 하실때 마다 고객님들의 안주 성향에 따라 진안주및여러 안주들이 준비되어있습니다 필요시 배달안주도 서비스로 제공하겠습니다
고구려방문 후기
김xx
친구들이랑 부산 여행 와서 룸싸롱을 찾던 중 부산에서 가장 유명하다는 고구려에 놀러갔는데 진심 너무 재밌게 즐기고 왔습니다. 아가씨들 사이즈도 기대 이상이고 부산 놀러갈 때마다 찾을 예정입니다. 임대표님 감사드립니다.
이xx
모임 술자리를 가지다 2차로 고구려룸에 방문했는데 칙칙했던 분위기가 완전 바뀌게 되었습니다. 예쁜 아가씨들이 줄줄이 들어오는데 술도 술술 들어가고 여기구나 했습니다. 현재는 단골이 되어 서비스도 너무 잘챙겨주시네요. 매번 감사드립니다.
박xx
거래처 접대 차 비즈니스 룸을 알아보던 도중 고구려를 찾게되었습니다. 전화 문의로 말씀드리니 알아서 초이스도 너무 신경 잘써주시고 서비스도 정말 최고였습니다.
promise to customers
부산룸싸롱 고객님들께 약속드립니다
저희 부산고구려해운대룸싸롱은 고객님들께 차별 없는 동일한 주대 및 가격을 받을 것을 약속드립니다. 항상 고객님들을 우선시 생각하며 방문목적에 따른 실수 없는 맞춤 서비스를 할 것을 약속 드리겠습니다. 항상 감사드립니다.